For an ultra trendy Halloween, we suggest you make these DIY projects that are currently viral on social media. By following the steps, you can make these decorations that everyone is talking about at low cost!
Terra cotta pumpkin
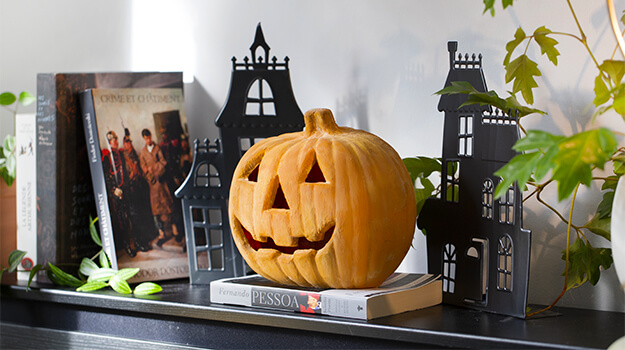
Since Pottery Barn presented its famous terra cotta pumpkin, social media have been flooded with posts explaining how to make a homemade version. The technique is simple, and the result is definitely a winner.
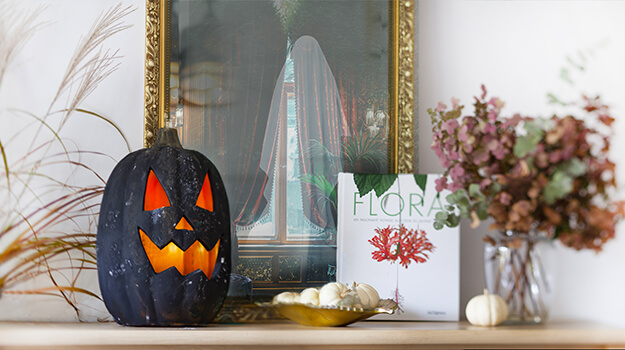
You can also make a very trendy black version that is gaining in popularity every day.
What you need:
- Artificial pumpkin
- Craft paint (terra cotta, black or grey) and a large brush
- Baking soda
Terra cotta finish pumpkin, step by step
- Mix the paint with the baking soda in equal proportions.
- Apply the paint to the entire pumpkin with a large brush, using up-and-down strokes.
- Without waiting for the paint to dry, sprinkle the surface with baking soda and spread it roughly. The finish should not be uniform.
- Let it dry completely.
Black pumpkin
This sleek and elegant version is perfect for any decor, especially in modern, industrial or farmhouse-style homes. Using spray paint speeds up the process!
What you need:
- Artificial pumpkin
- Grey or black matte spray paint
- Baking soda
- Metallic craft paint - bronze, silver or gold (optional)
- Instant coffee (optional)
Black pumpkin, step by step
- Wear gloves and protect the work surface. It is recommended to use spray paint outdoors. Set up on the lawn (not the patio) and protect it with cardboard. Avoid windy days as spray paint is volatile. Protect your clothing.
- Spray the pumpkin so that it is covered in a thin layer of paint. Do not spray too close to avoid drips.
- Sprinkle with baking soda before the spray paint has dried. Use a large brush or sponge applicator to spread it over the surface.
- Brush the baking soda into the fresh paint so it sticks. The final effect should be uneven.
- If you want, pour the metallic paint into a disposable container and roughly mix in an equal amount of baking soda or instant coffee. Use a large brush to apply. Again, the application should not be uniform.
- Let dry completely.
Mod Podge flowery pumpkins
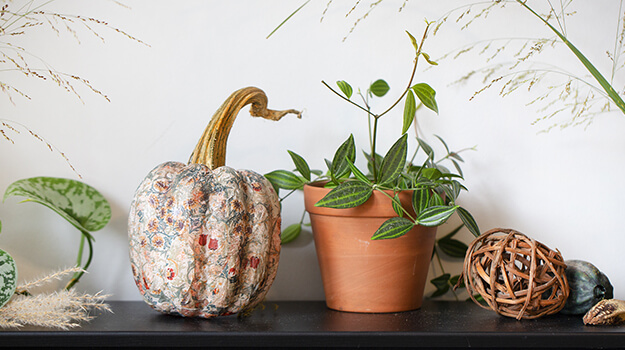
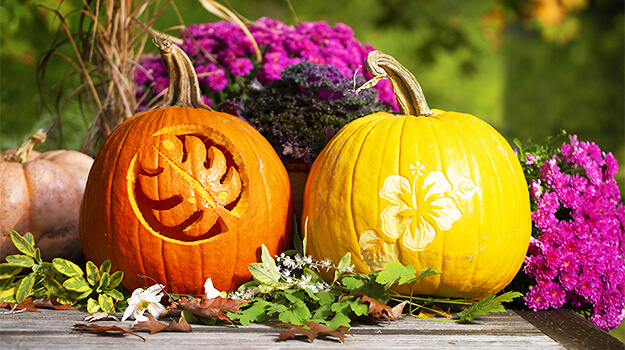
Ideal for any room in the house, these pretty pumpkins adapt easily to their environment. Vintage, romantic or country-style in its floral version, we can also try geothermal patterns in a Bauhaus or ultra modern version.
You can find a big choice of paper napkins in department or discount stores, decoration boutiques or online. Easy to make and beautiful every time, it is a great activity to do with family or friends!
What you need:
- An artificial pumpkin
- Paper napkin, paper tablecloth or tissue paper with a pattern
- Mod Podge and a sponge applicator
Decorative pumpkin, step by step
- Apply a thin layer of Mod Podge on a section of the pumpkin.
- Glue a small section of paper by spreading it carefully so that the pattern is clearly visible.
- Reapply a thin layer of Mod Podge so the paper sticks well.
- Continue the application until the pumpkin is completely covered.
- The pumpkin stem can be painted a metallic colour, wrapped in satin ribbon, or simply left as is.
Note: A real pumpkin can also be used for this project if you don’t want to keep it after Halloween. An artificial pumpkin can be kept for decorating year after year.
Chic and trendy marbled pumpkins
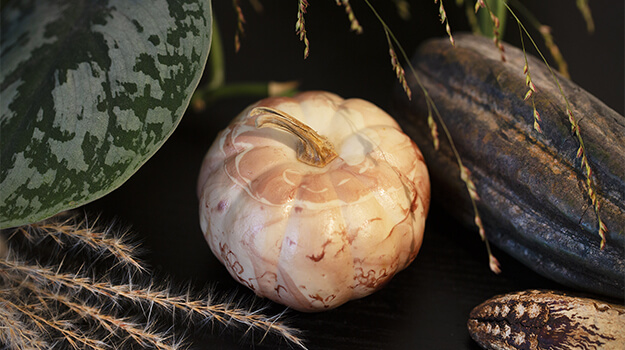
Here is how to create a beautiful, marbled effect without using products specially designed for this purpose. Simple and fun, this colouring technique is not only suitable for pumpkins. It will also be perfect for creating superb Christmas or Valentine’s Day decorations, or for colouring Easter eggs!
What you need
- Mini pumpkins (real or artificial)
- A container (it won’t be reusable for cooking after the DIY!)
- Nail polish (colours of your choice)
Marbled pumpkin, step by step
- Fill the container with water.
- Pour nail polish into the water (the surface will appear marbled).
- Holding the pumpkin by the stem, dip it in the water. Wear gloves to keep your hands clean. By shaking it gently, the polish should stick to its surface.
- For a more marbled effect, repeat with the same pumpkin, or continue with the others.
NOTE: Nail polish remover can be used to remove the nail polish colouring the pumpkin in case you don't like the result and want to start again.
Fabric pumpkins
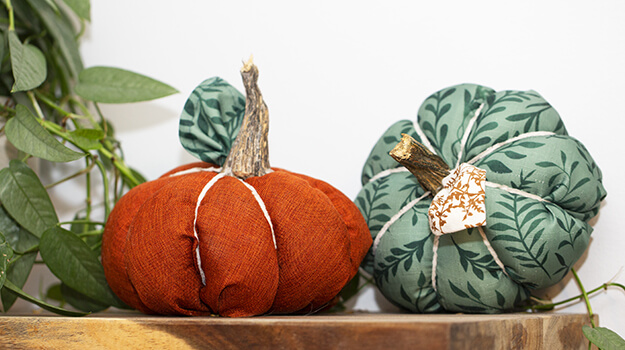
These pumpkins can be made with different fabrics (terry cloth, velvet, cotton fleece, plush, embroidered cotton, etc.), plain or with patterns. They can be made inexpensively with a napkin, a tablecloth, an old woolen fabric, socks that you no longer wear, a pillowcase.
Finally, you can make large cushions for the living room or bedroom, or mini pumpkins to place solo on the shelf or in numbers in a beautiful basket. The possibilities are endless! It's up to you!
What you need
- Square fabric, colour and pattern of your choice
- Synthetic stuffing, kraft paper or old fabrics
- Thread and needle (ideally for embroidery)
- Elastic
- Ribbons or jute rope
- Hot glue
- Branches (optional)
- Felt or artificial foliage such as vines (optional)
Fabric pumpkin, step by step
- Cut the fabric into a circle. The larger your shape, the bigger your pumpkin will be.
- Using the needle, tack the outline of the shape close to the edge.
- Gently pull the two ends of the thread to create a cavity.
- Place the stuffing inside.
- Close completely by pulling on the threads (to form a ball).
- Sew a seam to form the hollow where the stem will be glued.
- Wrap the rope or ribbon around the pumpkin 3 or 4 times. Shift slightly with each turn to form quarters of a similar width. Tighten lightly to form bulges.
- Use a glue gun to glue on a small branch that will look like the pumpkin’s stem. You can also braid a few thin branches or use vines.
Another option: If you don’t plan on using your pumpkin as a cushion, you can also tuck the attached part inside the pumpkin using a metal pin. Push it in firmly so that part curves inward.

