Winter has barely left and we are already getting busy in the garden. As nature starts to shift into spring, gardeners are often eager to participate in this wonderful metamorphosis.
In spring, proper garden preparation lays the foundation for healthy plants, vibrant flowers and bountiful harvests. Our guide will help you ensure that the garden looks its best when the warm weather arrives.
Short on time? Not to worry.
If at first glance the list of tasks seems intimidating, you can also, in some cases, let nature take its course. Annuals left in place the previous fall will eventually decompose to feed neighbouring plants. Your perennials will manage to break through the pile of dead leaves covering them. The lawn will survive if it is not raked. The season will just be a little slower to start.
Table of contents
- Vegetable garden planning and garden design
- When to start seeds indoors
- Tidying up the landscape
- Maintenance of gardening tools
- Soil preparation
- Starting bulbs and tubers indoors
- Maintenance of flower beds
- Caring for trees and shrubs after winter
- Care of rose bushes
- Division of perennial plants
- Moving shrubs
- Lawn care
- Adding mulch
- Cleaning bird feeders and bird baths
- Adding new flowering plants
What defines the start of the gardening season?
While the first day of spring is officially in March, gardeners instead rely on the weather to determine if it is indeed here. In northern climates, the gardening season is considered to have begun when temperatures remain above freezing. In temperate regions, this is the period when the majority of plants slowly emerge from dormancy without beginning to actively grow.
Preparing the garden step by step
1. Vegetable garden planning and garden design
One of the little pleasures, at the start of each season, is planning the layout of the garden. While some of the elements do not change, other elements allow the design to be changed from one year to the next.
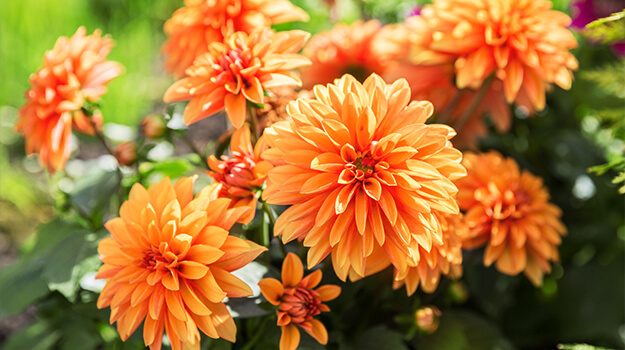
Adding creativity, many gardeners will focus on a certain colour theme for their annual beds and floral arrangements. The colour may differ from one year to the next depending on trends (in 2024, peach and apricot colours are in vogue!), or according to one's own desires.
In the vegetable garden, crop rotation, essential for protecting crops from diseases and pests, also requires planning. So does the development of a new flower bed or the enlargement of a current flower bed, the planting of a hedge, the placement of a canopy, etc.
You need to consider sun exposure and microclimates within your yard. Also, you’ll need to choose your plants according to the hardiness zone where you live, so that they can adapt well. Doing so will require less intervention on your part for the plants to grow beautifully.
2. When to start seeds indoors
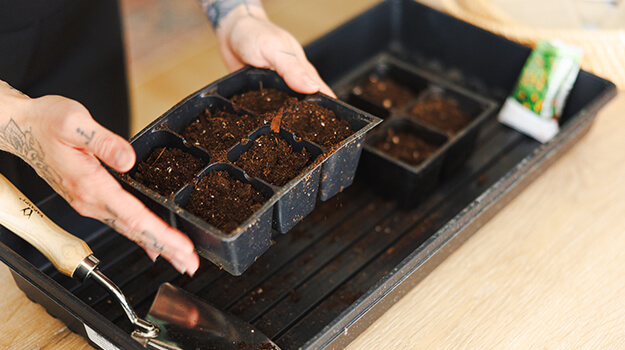
The choice of seeds is practically endless. It is possible to sow in seedling trays, in peat pots, pots made with packaging intended for recycling... In fact, any container where drainage holes have been made beforehand. Suffice it to say that the world of seed starting is accessible to everyone!
Start seeds in fresh, free-draining soil like our Organic Seed Starting Mix. This type of potting mix is developed to promote good seed germination and give you the best chance of success.
Learn more about starting seeds indoors in our germination article : Starting Vegetable Seeds Indoors: The Complete Guide
Once the small shoots have appeared, place your trays in a location where they can benefit from at least 12 hours of light per day.
The plants can be transplanted into the vegetable garden as soon as weather conditions permit. To find out how to plant your vegetables in the vegetable garden to obtain the best possible results, consult our article : How to make a small, high-yielding vegetable garden.
3. Tidying up the landscape
The first step to carry out in the garden is to eliminate debris and weeds accumulated during the winter. If you did not collect the leaves and broken branches before the snow, now is the time to complete the task.
As it is still early, do not remove shrubs and perennials which seem to have suffered from the winter. Some plants may surprise you with their vigour.
Use a weeding tool to remove weeds along with their roots to prevent them from growing back. The still damp ground makes the task easier. To overcome the toughest ones, spray locally with an ecological weed control product. For weeds in the lawn, choose a herbicide that only controls broadleaf weeds, without damaging the lawn. Best to use when the weeds are actively growing.
To avoid providing an ideal environment for mosquitoes to multiply, empty all containers and other objects that contain stagnant water. This is where mosquitoes lay their eggs.
Check the brickwork of paths and borders. Check the general condition of the deck or patio. Make any necessary repairs. Finally, clean the outdoor furniture. BBQ and garden party season isn’t that far away!
4. Maintenance of gardening tools
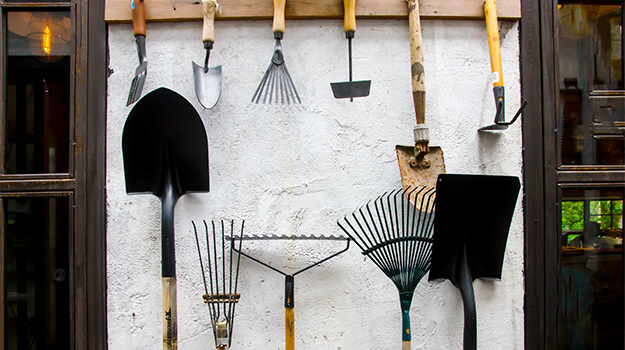
Tools that are rusty or caked with last year’s dirt can introduce bacteria or spread disease. Protect your plants by carefully maintaining gardening tools.
Sharpen the dull blades of shears and pruners using a sharpening stone or file, or ask the staff at your garden centre or hardware store to see if they offer the service.
- How to clean gardening tools
- Remove encrusted soil from shovels, trowels and rakes.
- Use a stiff metal or plastic brush to scrub thoroughly.
- Rinse with clean water.
- To disinfect, immerse your tools in a mixture of 1 part bleach to 9 parts water.
- Lightly spray some penetrating oil (such as WD-40) on gardening tools.
Do or have the mower serviced. A worn blade shreds the grass instead of making a clean cut. Over time, the lawn will take on a brownish tint which is not aesthetically pleasing. All small engine repair shops will sharpen your mower blades.
For more spring lawn care tips, read : Lawn care guide | C-I-L Lawn & Garden
5. Soil preparation
Rich, healthy soil is the well-kept secret to a thriving garden. Have your soil analyzed to assess its pH and know how to amend it if necessary.
Flower beds
In flower beds, add compost, manure or other organic matter to enrich the soil and improve its structure and its capacity to retain moisture and assimilate nutrients.
Vegetable garden
The vegetable garden soil is home to a living world made up of beneficial organisms, bacteria, mycorrhizae and insects. It is recommended not to work the soil too deeply so as not to disturb the precious and beneficial allies in the soil profile.
Ideally, when you grab a handful of garden soil, it should hold its shape when pressed, and crumble when dropped to the ground. It is too sandy if it crumbles as soon as you open your hand, and too clayey if it remains in a ball once it falls to the ground. Incorporating three inches of compost into the top layer helps sandy soils retain water better and lightens clay soils to allow air and water to penetrate.
Tip: Our Premium All Purpose Mix offers your plants an ideal environment to flourish and guarantees an optimal harvest.
Lawn
Lawns do not necessarily rest on suitable soil. While some thrive on a deep, arable organic layer, many struggle to grow on compacted soil covering a layer of fill sloped and graded to ensure water drainage.
These lawns not only need fertilizer, but also a supply of organic matter to help develop the soil. Every early spring, spread a thin layer of compost on the lawn, taking care not to smother it.
To find out how to revive the lawn after winter, read : How to revive your lawn this spring | Lawn & Garden
6. Starting bulbs and tubers indoors
Starting your bulb plants indoors is easier than you think. It takes a little time, but they will get a head start on the season and you will enjoy a longer flowering period.
Did you know that for canna bulbs, going dormant is optional? They can be grown as exotic plants all winter long inside the house. In the best conditions, they can even flower!
Here’s how to start bulbs for begonias, cannas, calla lilies, collocasias, dahlias and gladioli here : Summer bulbs: how to grow them indoors
7. Maintenance of flower beds
Remove the mulch or dead leaves that served as winter protection for perennial plants and ornamental grasses. Also remove dead plant matter, taking care to cut the stems and foliage so as not to uproot the plant.
If you have a large garden, a sharp hedge trimmer can save you time. To protect yourself from cuts and scrapes, wear gardening gloves.
Put last year’s annuals in the compost if you didn’t do so in the fall. Replant the roots of perennials that have lifted up due to freezing and thawing. If necessary, add nutrient-rich potting soil or amend the soil with compost or manure. This will stimulate microbial activity in the soil.
Once your flower beds have been upgraded, use a trimmer to clearly define them.
8. Caring for trees and shrubs after winter
Pruning to clean
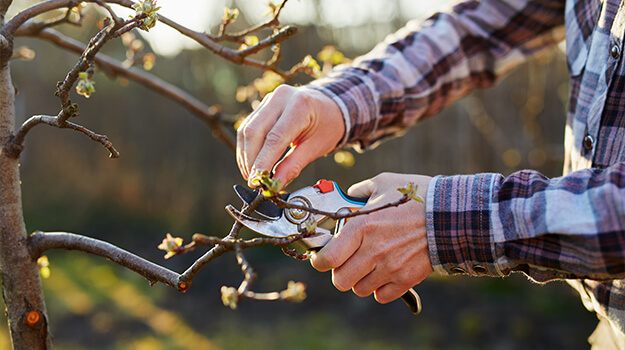
Perform pruning to clean on trees and shrubs. Use a sharp tool and clean the blade each time to avoid spreading diseases from one plant to another.
Remove any dead wood. Make a clean cut to branches that were broken by snow or ice. Also cut those that intersect and where friction risks damaging the bark, as well as those that are too close to the house or that block paths.
Pruning to rejuvenate
Spring is also the time to do some rejuvenating pruning on an aging shrub. By pruning before the buds open, you benefit from being better able to see the branches before leafing out and you limit the stress caused to the plant.
On deciduous shrubs, cut a few of the larger branches at the base, near the stump or at a junction (often the grey ones). This will encourage the growth of young branches. A rejuvenation pruning can be spread over a few years. Each time, no more than 30% of the branches should be removed.
Pruning to train
It may happen that the tree or shrub develops irregularly. The pruning to train allows the plants to be rebalanced. However, you should only prune at the right time.
Most trees and shrubs can be pruned at this dormant time of year. There are a few exceptions, that is, such trees that may lose excessive sap like maples and birches. Do those trees in early summer when the sap flow is less intense.
Spring flowering shrubs should be pruned after flowering. In early spring, cut only what was damaged by winter, or you will remove some of the flowers. Summer flowering shrubs (July to September) can be pruned after flowering or very early in spring. The flowers appear on the previous year’s branches.
Evergreen shrubs and hedges should have a light pruning in late winter/early spring to remove any winter-killed tips. By early summer, it will be evident that shearing is needed again as the warmer weather produces a flush of growth.
Watering and fertilizing
Water trees, shrubs and conifers that appear to have suffered from drying winter winds, to help their root systems recover. Also add fertilizer to the roots of trees and shrubs, especially young ones, to speed up their establishment.
9. Care of rose bushes
Remove dead or damaged wood from hardy roses and hybrid teas that have spent the last few months under winter protection. Again, make a clean cut and be sure to disinfect the blades of your pruning shears between each cut with rubbing alcohol.
Pruning rose bushes promotes healthy growth and abundant flowering. This helps rebalance the plant and helps air circulate better between the branches, thereby reducing the risk of disease.
To find out everything about pruning rose bushes, read our article : When to prune roses
10. Division of perennial plants
Some perennials benefit from being divided every 2 or 3 years, otherwise their centres tend to thin out. This is the case, for example, of certain irises and certain grasses. Others, like peonies, can remain untouched for years. They remain true to themselves and bloom regularly.
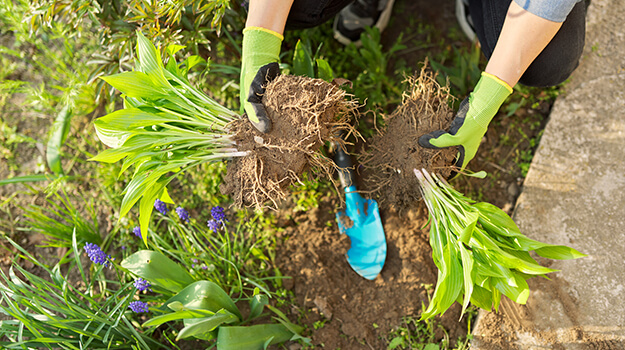
For best recovery, divide perennials before their spring growth begins. First remove the entire clod of earth using a fork so as not to damage the roots. For rhizome plants, separate the rhizomes into small groups to propagate plants. For other plants, slice the root ball using a sharp shovel. Plant the divided perennials in new spots in the garden with a bit of starter fertilizer and mycorrhizae, then water well.
Dividing perennials is an economical way to enlarge a flower bed or form a new one. Besides, repetition in the garden is a key factor. It helps to give rhythm and helps link the different parts of the garden.
11. Moving shrubs
Do you need to move a shrub? Do this when it is dormant and during a cloudy day.
A few days before, water your plant thoroughly. Have a pot or wheelbarrow ready to transport your plant. Cut the soil around the plant to recover as many roots as possible (the root ball taken should have a diameter equivalent to two thirds or half of the plant). Lift the root ball and carefully carry the plant to its new location.
If you cannot put it back in the ground immediately, place the plant in the shade in a container with drainage holes so that you can water it regularly without rotting the roots.
When planting, add starter fertilizer and mycorrhizae to your soil to encourage root formation and promote good recovery. Don't forget to water.
12. Lawn care
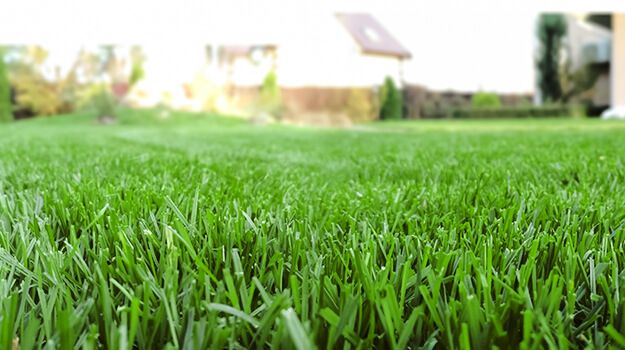
Whether the winter was harsh or not, the lawn rarely comes out unscathed. As soon as the ground is no longer soggy, a few distinct actions will revive a battered lawn.
Rake, aerate, repair bare areas, fight weeds, fertilize. It is also possible to apply a 2.5-cm layer of compost to certain areas or to the entire lawn to improve the condition of the soil.
If you plan to sow, opt for a mixture of different seeds. If one grass is more susceptible to attacks from one pest, the others will simply take over and your lawn will bounce back more easily. Also wait until the temperature has reached 15 to 20 °C for at least two weeks. The soil must have warmed up to encourage seed germination. And keep soil moist for the first few weeks.
13. Adding mulch
There are plenty of good reasons to apply mulch, aside from the fact that it quickly gives a neat, uniform look to your garden.
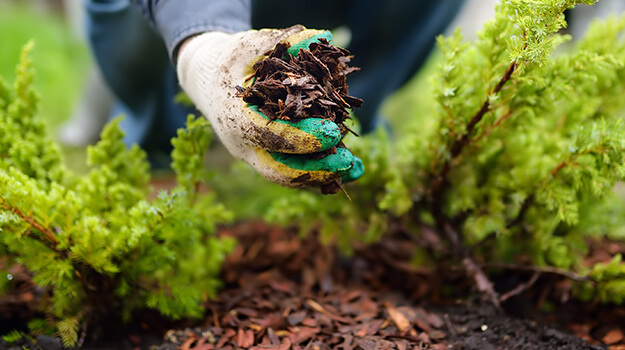
Mulch protects the soil from compaction, erosion, drought and frost. It helps conserve moisture, and it limits the spread of weeds. Finally, by decomposing over time, mulch improves the quality of the soil.
Apply a 3-inch layer of mulch around perennials, trees, shrubs and vegetable plants. Keeping a free space at the base of plants helps prevent moisture accumulation on the stems that can cause rot and disease. Plus, it avoids providing a sheltered place for pests and small rodents attracted to your plants.
To calculate how much mulch you will need, use this handy tool : Calculator | C-I-L Lawn and Garden
14. Cleaning bird feeders and bird baths
Now is a good time to empty and wash feeders that have spent the winter outside. Also clean the bird bath. With the return of warmer temperatures, you can start giving water to your winged friends again, without putting them at risk.
15. Adding new flowering plants
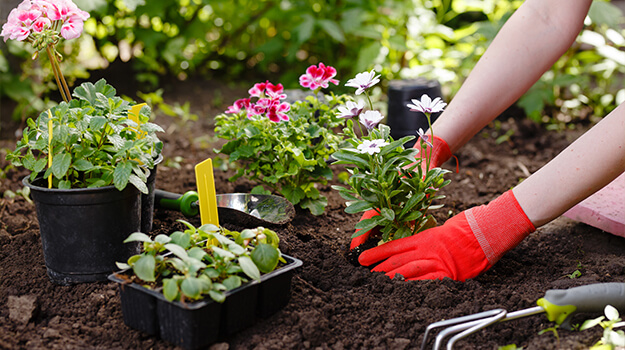
Perennial plants need a little time to get established. By planting them early in spring in soil containing nutrients and mycorrhizae, you offer them a favourable environment to develop new roots before the arrival of the hot weather.
To get some colour in the garden early in the season, plant a few cool-season annuals like pansies or snapdragons in the beds or in pots. To enjoy continued flowering, plant other annuals a little later and fertilize regularly.
Spring is the time to plant summer flowering bulbs. Dahlias, cannas, begonias, calla lilies and gladioli can be planted outdoors as soon as the risk of frost has passed and once the soil has warmed enough to be worked easily.

