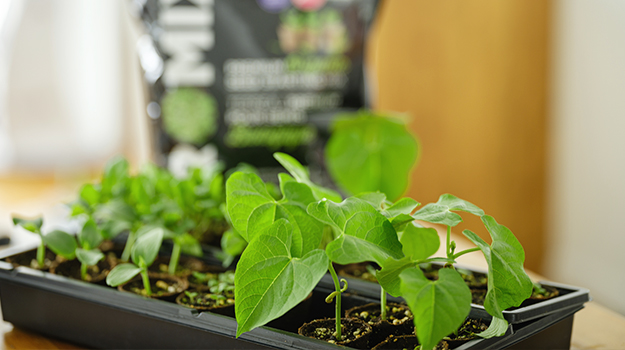
Sure, it’s easier to buy transplants at the garden centre. Growers do a great job of producing healthy plants, ready for transplanting. However, the selection is often limited to their best sellers. You’ll find endless varieties if you choose from the seed catalogues online.
Besides, nothing shakes off the winter blues more than dreaming of spring, playing with soil and seeds, and watching greenery appear in your home.
Why consider starting your veggies indoors?
- It’s cheaper: if you plan to have a lot of plants, there is a greater quantity of potential plants in a seed packet. Compare that to the cost of buying individual seedlings at the garden centre. On top of that, many seeds left over from indoor starting can also be planted later, directly in the garden soil.
- You have control: if you are looking for purely organically raised plants, consider that with growing your own, you will be assured of the way the young plants were raised.
- There’s much more variety: you have a much wider selection of cultivars, tastes and textures. Seed racks in stores are usually stocked with a bigger variety. However, ordering from seed catalogues online greatly broadens your choices!
What do you need for seedling starting
- Seed starting trays with individual cells and clear plastic tops are an excellent way to streamline the planting process. The watertight tray keeps water off your house surfaces, the cells have drain holes, and the clear cover keeps the soil from drying out too quickly. However, you can use any discarded container (for example, yogurt cup containers), so long as you drill drainage holes at the bottom.
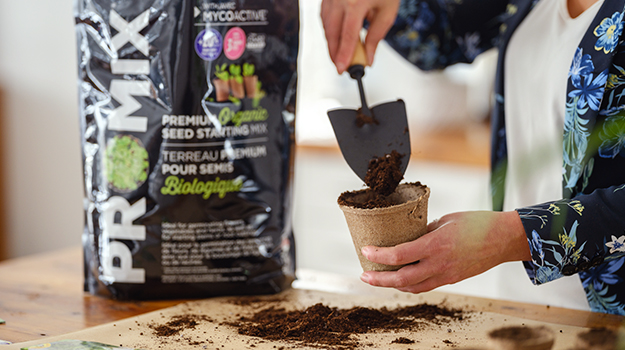
- Seed starting potting mix. Mixes specifically blended for starting seeds are the best, since they have the correct fineness and porosity to guarantee good germination. Once a seedling has reached a size to be moved to a bigger container, you can switch from the seed starting mix to a good quality potting mix. As an alternative to potting mix, you can also use peat/coco plugs for starting, but you have to expand them before planting.
- Access to light 10-12 hours a day. If placing your trays in front of windows, be sure to rotate the trays every so often when they germinate, so the seedlings grow evenly. If considering grow lights, remember to raise the lights as the seedlings reach for the light.
- Labels. It can be frustrating to forget which plant is which, especially when growing different varieties of the same plant. Use a permanent marker on your label tags.
When is the best time to start seeds indoors?
Not all seeds should be started indoors. In fact, most vegetable seeds can be planted directly outdoors. Indoor seeding is for the plants that require a longer season of growing in order to reach harvest before the fall frosts. That includes peppers, tomatoes, cabbage, cauliflower, celery, eggplants, Brussels sprouts, broccoli, lettuce, etc.
5 Tips for seedling starting
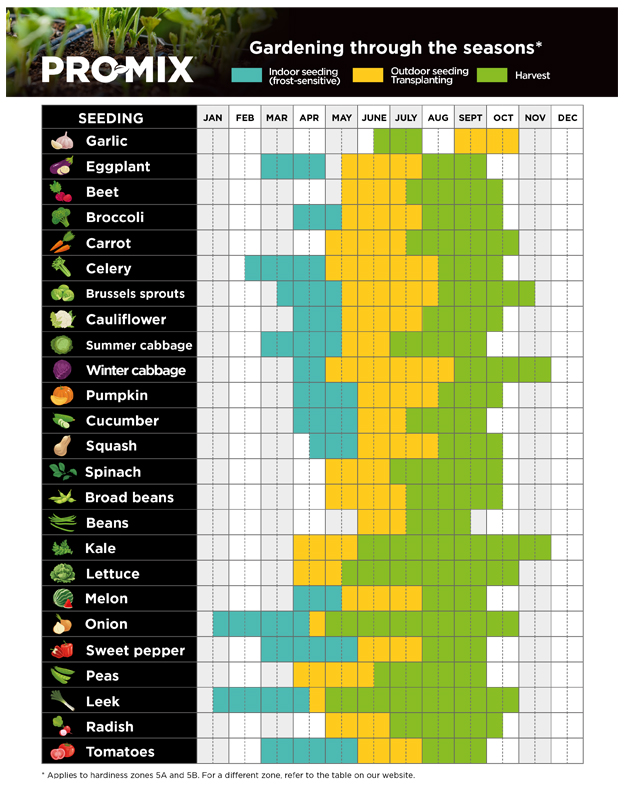
- Look at your seed packet. Generally, you’ll see the days to harvest printed on it. They may also state: “Plant 6-8 weeks before last frost”.
- Typically, peppers, leeks and onions take 90-100 days to harvest. These need an 8-week head start indoors. If May 24 is the last frost date in your region, then working backwards, you should start pepper and onion seeds in mid-March.
- Tomatoes can have varied harvest dates, depending on the cultivar you selected. On average, they take 60-90 days to the start of harvest. Seed starting should be in late March-early April, depending on projected days to harvest.
- Brassicas (broccoli, cauliflower, cabbage, Brussels sprouts, etc.), celery and kale also take 60-80 days and should be started right after the tomatoes.
- Cucurbits (cucumber, zucchini, squash, etc.), head lettuces and others can be directly planted outdoors after the last frost date, but you can enjoy an earlier harvest if started indoors. In that case, plant seeds indoors maybe a month before, so mid-late April.
Our practical guide contains almost every date you’ll need to start your seeds indoors, transplant your seedlings in the garden and harvest. It can be downloaded and printed for use throughout the season. Keep it handy!
Click here to find your hardiness zone: Hardiness zones explained | (promixgardening.com)
How to seed
- With your fingers, pack down gently the seed starting potting mix or expanded plugs until nice and firm. Then top up with a little more potting mix.
- Make a small depression with your fingertip. Drop one seed into each depression. The depth varies by size of seed (your packets will have planting depth information).
- Top up with a sifting of fresh mix to cover seed. And now, carefully water the cells.
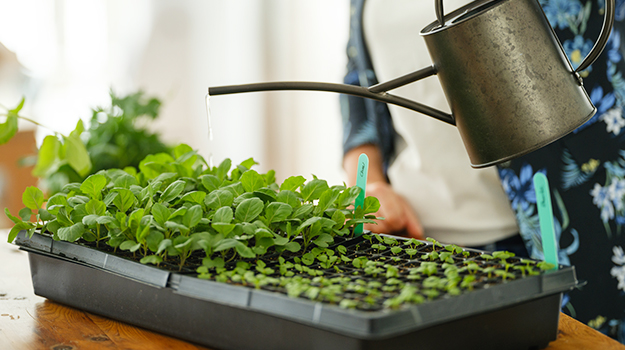
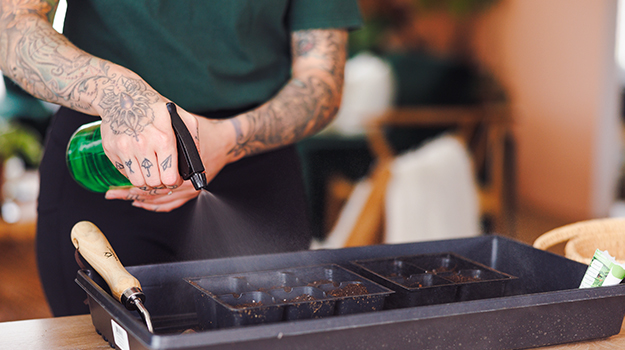
- Use of a standard watering can at this point would wash away the seeds. But you can put water directly in the tray and allow the potting mix to absorb the water as it will act like a wick. Or use a finger trigger type sprayer to moisten and water the soil surface.
- Other ideas include using a turkey baster to control the water dripping slowly in each cell. Whatever method you use, the point is not to pour water directly with any force that will wash away seeds. Once the plants are well germinated, you can start using the watering can on the surface.
- After completing the watering of the seeds, make sure you drain off any excess water in the tray. Cover with the clear plastic lid, or any clear plastic. Once the seedlings begin to appear, you can remove the cover.
- Later on, if the plants are getting crowded or becoming root-bound, you may want to repot the seedlings in a slightly bigger container.
How to harden off your seedlings
When the time is getting close to planting them outdoors, you need to acclimate your tender plants to the cruelties of the outdoors! They need to toughen up to withstand full sun and wind, a process called hardening off.
Start placing them outside, at first in indirect sun and out of the wind for a few hours. Every day, you extend the time outdoors, a little longer each time, exposing them to more direct sun and breezes. Be sure to water them, as they will dry out quickly in their little cells. As cumbersome as this process sounds, it is truly worth it.
Planting your indoor seedlings directly in the open garden without hardening off will result in disappointment: the plants will wilt, droop, fall down and struggle to survive the harshness of the outdoors, after the protected comfy living in your house. You need to toughen them!
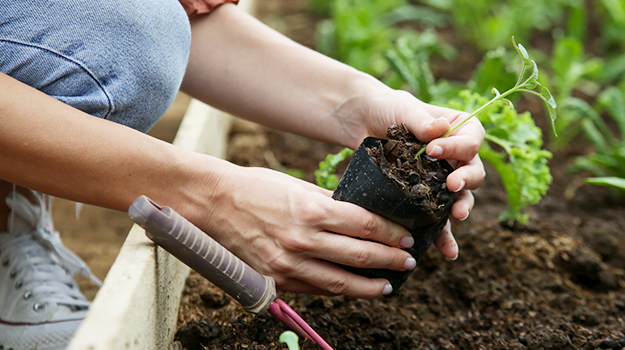
Now, they are ready for the full outdoor experience in your prepared garden soil.
It’s always rewarding to see your little charges grow up to yield tasty vegetables.
Click here to download your seeding and planting calendar.

