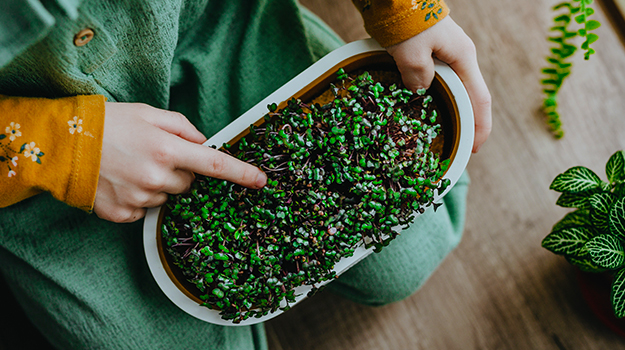
What can you grow on a windowsill and harvest in just two weeks? Microgreens! After two weeks, you just cut the tops off and add them to salads, sandwiches, pizzas and stir fries for an incredible garnish that is super nutritious. It is an easy gardening project for you and even your kids!
What are microgreens?
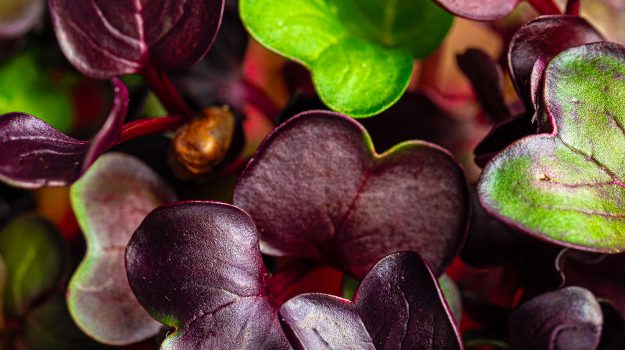
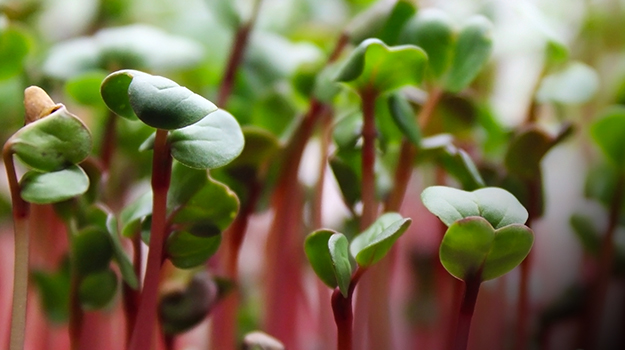
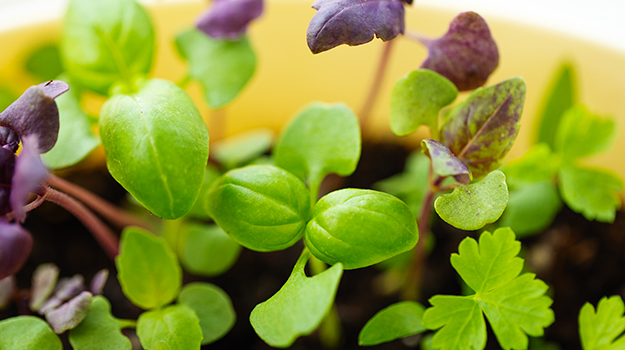
Microgreens are the first green leaves produced from a seedling, reaching that stage in less than 14 days. The seedlings are quite short, only reaching 2.5 – 7.5 cm (1-3 inches) in height. You can grow vegetable, herb and even flower seeds.
So nutritious
These microgreens can pack a nutritional punch, containing up to 40% more beneficial nutrients and components than their full-grown counterparts. This includes large amounts of vitamin A, C, E and K beta carotene, as well as minerals such as calcium, magnesium, iron, selenium and zinc.
According to medical experts, microgreens can lower blood pressure, lower risk of heart disease, might help fight cancer, help lower cholesterol and can support gut health. What’s not to love?
Are microgreens the same as sprouts? These are two distinctive baby greens.
The two not only look and taste different, but the way they are grown is different.
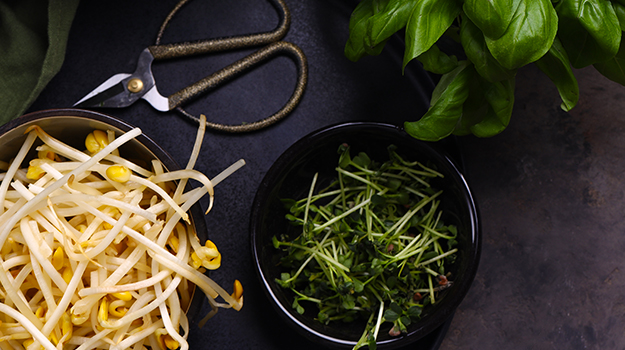
Sprouts are seeds germinated in water for only several days with little or no light, long enough to form roots, a stem and undeveloped leaves, and the entire plant is harvested right away. Sprouts are used in a number of dishes, mostly for their crunchy texture as opposed to their visual appeal. They are considered mild in flavour.
Microgreens, on the other hand, are grown in a tray with potting mix and require water and sunlight for about two weeks. When ready, microgreens are cut at the stem and you only eat the top growth, while with sprouts you consume everything: roots, stems and leaves. Microgreens are much more nutritious and have much more flavour, ranging from mild to spicy.
Easy to grow
This is a great little off-season gardening project even for beginners. Kids like helping plant the seeds and watching them grow, all within their short attention span. What you need are the seeds, growing containers or trays, a good potting mix, a spray bottle and watering can, a sharp set of clean scissors and a windowsill.
The seeds:
Any vegetable seed packet can be used, except for the ones that have been treated with a pesticide. Many seed companies sell specific microgreen seeds, sometimes available in a multipack with several different types of seeds. There is usually no difference between regular seeds and microgreen seeds, but typically there are more seeds in a microgreen packet since you require many more seeds to do a microgreen tray versus an outdoor garden planting.
Any extra seeds can be planted repeatedly indoors for successive weekly harvests. You can even plant the same seeds outdoors in the spring in vegetable gardens as either normal maturing plants or as microgreens. In the spring, you can also plant them in containers on your deck. You just need two weeks for the microgreens to be ready to eat. You’ll have to experiment with different seeds to find out what suits your tastes.
The most common vegetable types grown as microgreens are:
Broccoli, Collards, Peas, Kale, Mustards, Kohlrabi, Radishes, Cabbage, Beets, Swiss chard, Cauliflower, Onions, Carrots, Celery, Fava beans, Turnip, Lettuce, Brussel sprouts.
The most common herbs grown as microgreens are:
Basil, Parsley, Arugula, Dill, Cress, Cilantro, Fennel, Chervil, Sorrel, Shiso, Fenugreek, Lemon balm, Chives, Oregano, Sage.
The most common flowers grown as microgreens are:
Sunflowers, Borage, Nasturtium, Celosia, Amaranth, Chives, Signet marigold, Three-colour daisy, Edible chrysanthemum.
The planters:
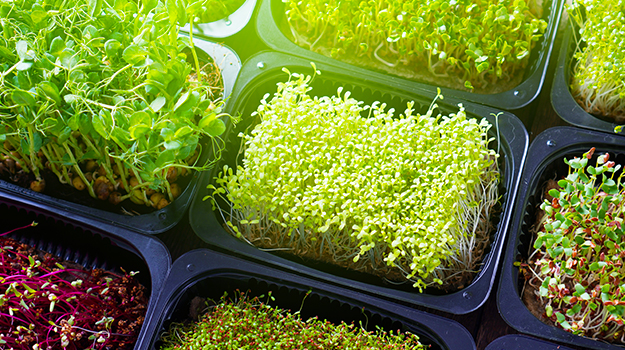
You only need 5 cm (2 inches) of a soilless and weed-free seed starting mix or quality potting mix to grow your seeds. Consider starting your gardening experience with a growing container that is shallow and wide, such as disposable plastic food containers, take-out plastic containers, milk cartons laid sideways with one side cut out, aluminum pie tins, etc.
It is important to make drainage holes on whatever you use and have a tray underneath to contain water. Once you are familiar with the process of growing these little gems, you may consider investing in a microgreen growing kit.
Let’s get started
- Pre-moisten the potting mix and fill your container.
- Sprinkle your seeds over the surface. Ideally, seeds should be 3-6 mm (1/8-1/4 inch) apart, but in general, they don’t need much room to grow since you will be harvesting early.
- Many seeds require a thin dusting of potting mix to cover them. Others can be left uncovered. Instructions will be on each microgreen seed packet.
- The best way to water initially without washing out the seeds is to use a water spray bottle to gently moisten the surface. Always use drinking water.
- Place a cling wrap over the container for the first few days to maintain humidity. You don’t need sunlight at this stage.
- Once you see germination, move the container to a windowsill or light source. No need for fertilizer.
- Keep the planting medium damp and promote healthy growth by watering from the bottom. Pour water in the drain tray and allow it to be absorbed into the soilless mix.
- Harvesting when the seedlings are 2-5 cm tall involves holding the tops and cutting the stems with clean scissors. Choose a day when you plan to eat them to ensure the freshest possible greens. Grocery store microgreens are already several days to a week old. The homegrown benefits are freshness and cost savings.
- Microgreens that are not consumed should be stored in a container and refrigerated. They can last a week or so.
- Microgreens will not regrow after cutting. You can replant another crop after harvesting on the old growing medium, without removing the old roots. Make sure you cut the stems down and simply scatter fresh seeds and cover them with potting mix. Good for a second crop, but after that, you’ll need to throw the twice used potting mix into your compost bin and start afresh.
How to use microgreens
Microgreens are best used uncooked. Cooking reduces the vitamin and mineral content.
You can add microgreens to meals in the following ways:
- as a garnish for salads, soups, flatbreads or pizzas
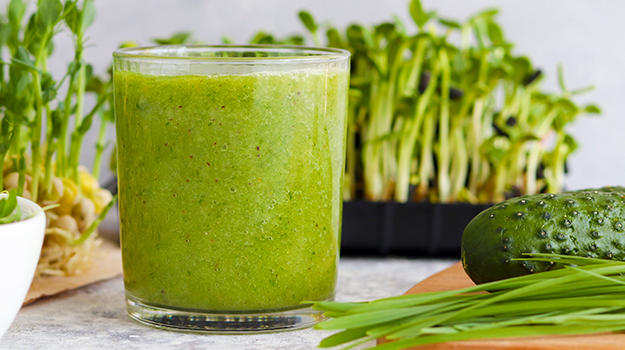
- to add nutritional value to a juice or smoothie
- as a side to any main dish
- to add flavour and colour to an omelet or frittata
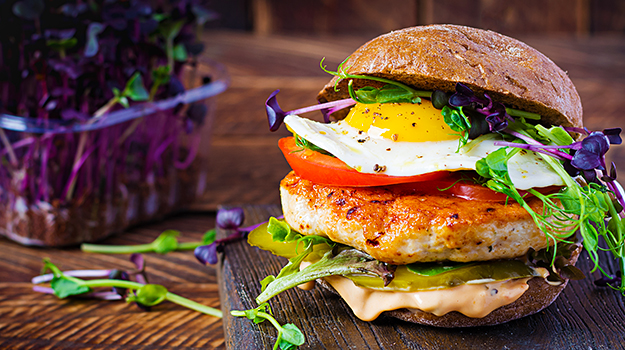
- as an alternative to lettuce in tacos or a burger or sandwich
- make a pesto
- add them to your stir fry dishes
Don't forget you can use microgreens and shoots as garnishes on anything you eat! Steak, pork chops, mushroom risotto, grilled vegetables, rice, pasta... Anything!

